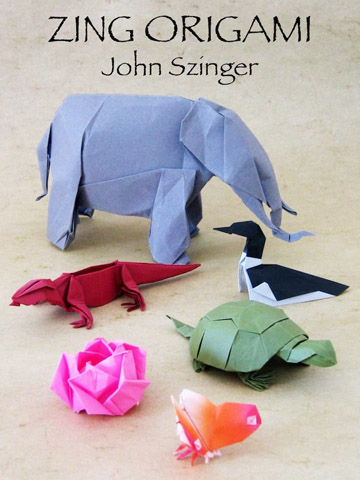
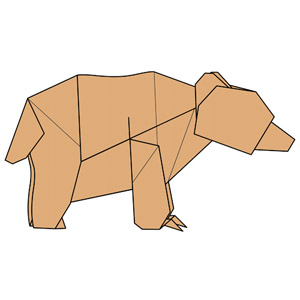
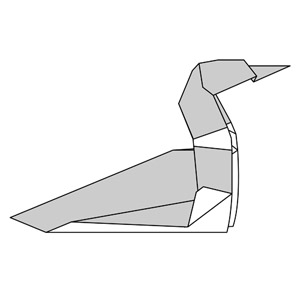
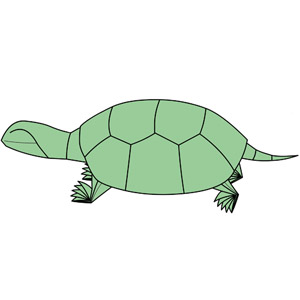
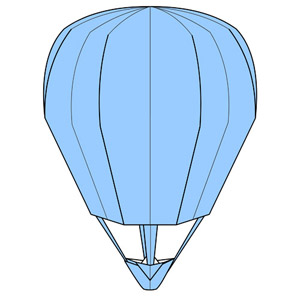
I recently completed an update to my web site, adding a page for theZing Origami eBook and making it the current feature on the home page. Also added a features page so you can go an dig all the previous features. Enjoy!
Category: Origami
Zing Origami For Sale
At long last, my origami eBook is for sale on the internets. Check out the official site at:
http://www.eorigamipublishing.com/home/zing_origami
And my bio page:
http://www.eorigamipublishing.com/home/szinger
And the page for Amazon:
http://www.amazon.com/dp/B00523739G
Can’t Judge
Origami Site Update
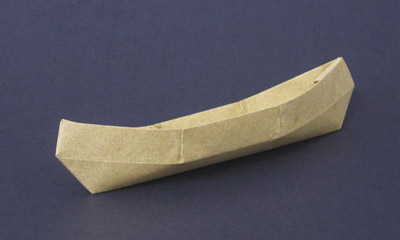
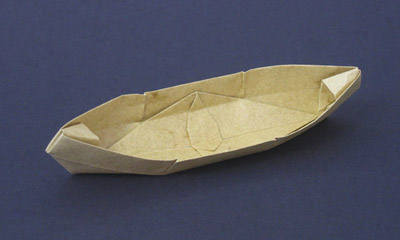
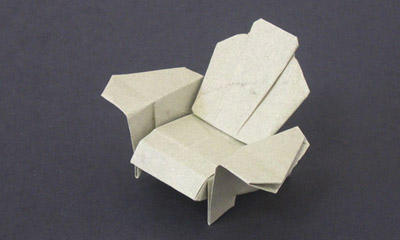
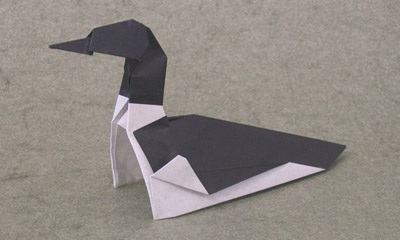
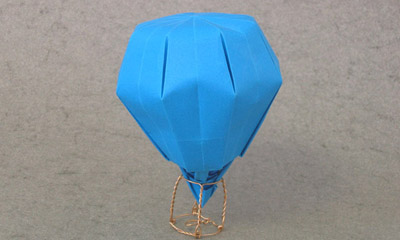
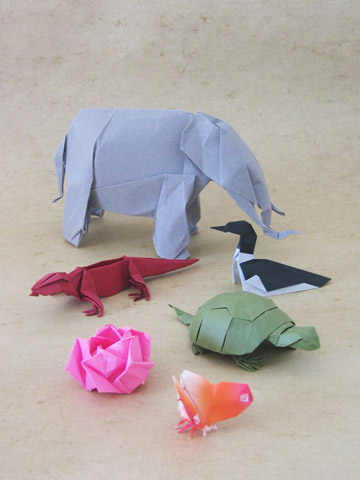
I updated my origami site with some of the pictures I took for my book. Also update the blurbs for a bunch of models.
http://zingman.com/origami/
http://zingman.com/origami/adk_ori.php
http://zingman.com/origami/ori_animals.php#loon
http://zingman.com/origami/ori_animals.php#octopi
http://zingman.com/origami/ori_things.php#balloon
http://zingman.com/origami/ori_things.php#canoe
http://zingman.com/origami/ori_things.php#adk_chair
Origami Book Pictures
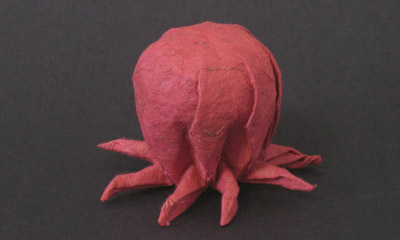
Another thing I did over the weekend was to take some pictures for my forthcoming origami ebook. I folded new versions of three 3 models. The Canoe and Adirondack Chair are of 8″ squares on Wyndstone still had leftover from other projects. The Octopus is from an 8.5″ square of elephant poo paper (really!) that I got at an auction a few OUSA conventions ago. It’s really soft and textural and great for that model.
I also did a layout for the cover, at various resolutions and levels of cropping. This image really pushes the limits of my camera, which is just a digital point-n-shoot with a macro mode, but has no interchangeable lenses or control over the f-stop and all that. With a better camera I could probably get a sharper picture, but this will do since it only has to display the size of an iPad screen.
Origami eBook
One problem with working on big things is alot of time can go by without much to say about that progress you’ve been making. So it’s been this winter. At work we’re one day away from being code complete for the next release of our software, which means the balance of the month will be spent doing bug fixes and tidying up loose ends, a welcome shift from jamming out massive amounts of new code every day.
Meanwhile, in the material world we’ve begun checking out cars to replace our venerable Jeep, a.k.a. El Jeepo. I’m happy to say after having test-driven the new Ford Explorer, it’s big enough and handles pretty well and has no obvious problems. I have some questions but for now it’s the one to beat. Next stop is to look at the most glamorous of all cars, the minivan of sport-u’s, the Honda Pilot.
In completely unrelated news, I’ve really been getting into playing Go lately. A couple weeks ago Michelle dragged out my Go board and and asked me to teach her. As we got into it, I realized I’d been misunderstanding one subtle but important rule all these years. So I googled the rules and ended up downloading a computer Go game. Now I’ve played a few hundred games and can beat the computer every time on a 7×7 board and about half the time on a 9×9 board. But if I loose, the mistake is always in the first few moves.
Anyhoo, so it is with origami these days. I haven’t said much about it, but the main thing I’ve been spending my time on this winter is my origami eBook. You may recall I’ve been working on an origami (print) book, but back in December I changed tack to concentrate on the eBook, mainly because my friend Brian had set up a publishing company for origami eBooks, and was looking for content. Nothing motivates like the prospect of demand for one’s work.
I’m happy to announce I’ve finished the diagramming for eBook. You might think this is fairly trivial, as most of the models were already diagrammed. But you’d be mistaken. It was a pretty big deal to bring everything over to ebook format. I basically redid all the diagrams with an eye toward refining the line weights and that sort of thing. The drawings have to read on both the apple iPhone platform and the Kindle, which are pretty different. On top of that I was determined that the drawings should work well for print. So among the considerations were the different screen sizes and color capabilities. (We wanted the color images to look nice on iOS and come out good on the Kindle as well as greyscale.)
For the eBook I ultimately converged on a layout the featured one step per page. This is markedly different from the print layout, which has typically eight or nine steps per page. But the limiting factor is the small screen size of the iPhone. And anything that looks good that small looks great on the slightly larger Kindle.
So as I mentioned, the diagramming is now done. The eBook will feature twelve original models, totaling over 400 steps. (all hand drawn, Whew!) Now it’s on to the end game. I have to write the introduction and dedication, provide photos for all the models as well as cover art, and an appendix that covers the basic folds. Here for you edification are a few steps from the upcoming book.
Folding Pentagons
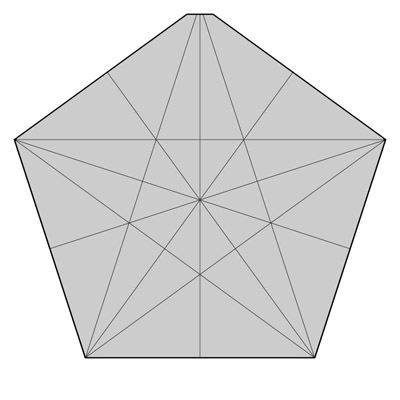
I’ve been working on an origami e-book that is on track to come out this spring. (More on that in a future post.) One of the models in it is my Fivefold Rose, which I’ve updated and improved. It’s based on a pentagon and the question of how to fold a regular pentagon from a square has been an age-old problem in origami. I know a few methods for approximating a regular pentagon, and with practice I’ve gotten good at eyeballing it so it comes out every time.
I recently discovered a new method in an old book from Japan from the 60’s. It’s been on my shelf for years, and I was on the verge of throwing it away and thought I’d flip thru it to see if there was anything worth saving it for, when I came across this little gem in the back of the book in with the classic bases. It’s based on the trick that the cosine of and 18 degree angle is within one percent of a 1:3 slope.
I’ve digrammed my own version of it, revising the steps to be clearer and more accurate, and making the folding sequence of subsequent steps reduce rather than amplify any folding errors. It’s pretty easy to get a perfect pentagon every time. The diagrams are essentially the first few steps of the new Fivefold Rose, thru forming the pentagon and some precreasing for the base.
The center of the pentagon is the center of the paper, which is useful for some applications. The tradeoff is that top corner of the pentagon is truncated (although you could just as easily fold a slightly smaller pentagon). For this model it doesn’t matter, and for alot of my pentagon-based polyhedra it doesn’t matter either. In any event it could easily be adapted to making a pentagon with the apex at the center of the top edge of the square by first folding the two long diagonals that would form the top point of a star embedded in the pentagon. I’m also exploring another method that uses the trick of the cosine of a 36 degree angle is very close to 4:5.
I showed it to John Montroll, the only other person I know who cares about this kind of thing like I do. In is book Origami Polyhedra Design he has a method for folding a golden rectangle from a square. The first time I saw it I immediately though there must be a way to use that to make a pentagon. It’s been in the back of mind ever since, but now I can forget about it. John has solved the problem and come up with a really elegant, mathematically perfect method for folding a pentagon in just 11 steps. Blew my mind when I saw it. Unfortunately you’ll have to wait for his next book to see it.
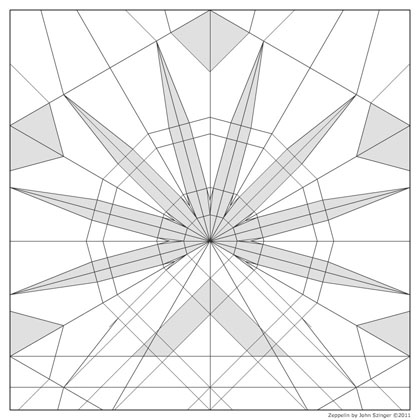
Zeppelin Crease Pattern
Brian Chan in Technology Review
Friend and origami artist Brian Chan has a nice profile in the new issue of Origami Review magazine, featuring alot about his origami, but very little about his sword making or handmade musical instruments. Rock on, Brian!
